
Install the Nibiru CLI
Install the Nibiru CLI to query chain data, send transactions, and run nodes. Use Bun or npm, download a release binary, or build from source.
- Option 1: Install with Bun or npm
- Option 2: Use the Bash installer
- Option 3: Download a release binary
- Option 4: Build from source
- Post-installation
- Local development
- Docker Engine
- Next steps
Option 1: Install with Bun or npm
Install the CLI globally with Bun:
bun install --global @nibiruchain/nibiru
nibiru version
Or use npm:
npm install --global @nibiruchain/nibiru
nibiru version
These commands install the npm default version. The package supports Linux and macOS on x64 and arm64. On Windows, use WSL. Keep optional dependencies enabled so the package manager installs the binary for your platform.
The launcher requires Node.js on your PATH, including when you install with Bun. It exposes the command nibiru, which runs the native nibid binary and forwards all arguments. Replace nibid with nibiru when following the other CLI guides.
Option 2: Use the Bash installer
curl -s https://get.nibiru.fi/! | bashTo install a specific version:
curl -s https://get.nibiru.fi/@v2.19.0! | bashThe ! suffix moves the binary to /usr/local/bin and may prompt for your sudo password. Omit ! to download without moving the binary.
Option 3: Download a release binary
Download an archive from the Nibiru releases page. Expand the release's assets to find the download links. Choose darwin for macOS or linux for Linux and WSL.
Check your CPU architecture:
uname -mUse an amd64 archive for x86_64, or an arm64 archive for arm64 or aarch64.
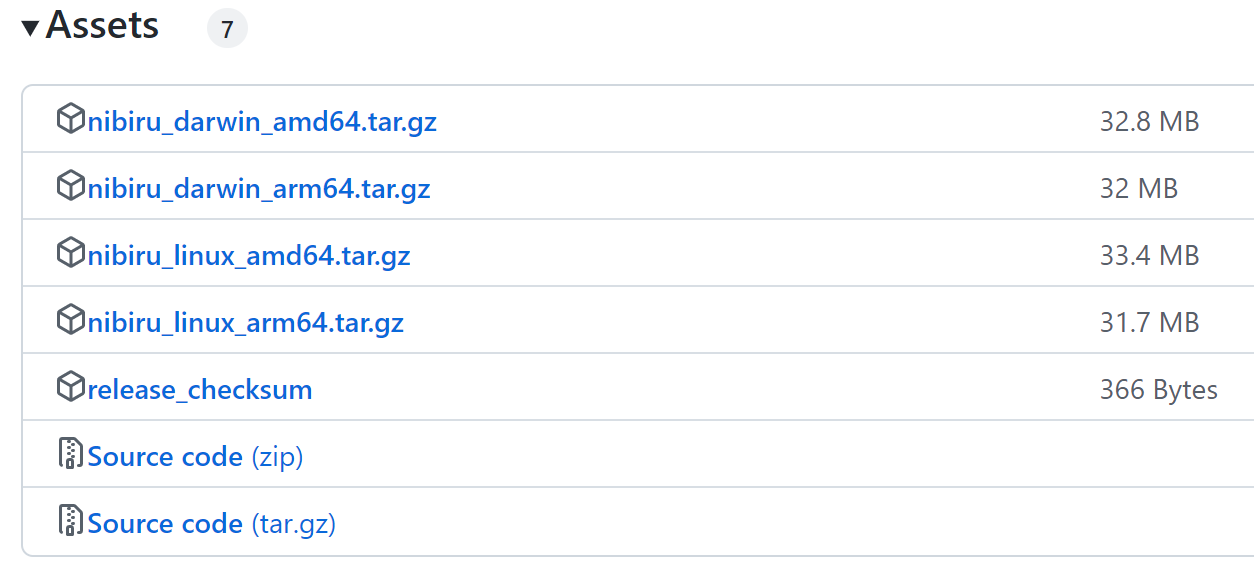
For example, extract the Linux amd64 archive for version v2.19.0:
tar -xzf nibid_2.19.0_linux_amd64.tar.gzAdd the directory containing nibid to your shell configuration, replacing /path/to/nibid-directory with its actual path:
export PATH="/path/to/nibid-directory:$PATH"Or install the binary in /usr/local/bin:
sudo install -m 755 nibid /usr/local/bin/nibidOption 4: Build from source
Install build tools
Install Git, a C compiler, and just. On macOS, install the Command Line Tools and just:
xcode-select --install
brew install just
On Ubuntu or WSL, install Git and the compiler tools, then install just using its installation guide:
sudo apt-get update
sudo apt-get install --yes git build-essential
Install Go
Install Go with Homebrew:
brew install go
go version
For other installation methods, follow the official Go installation instructions. Use a Go version that satisfies the selected release's go.mod requirement.
Compile the source code
Clone the repository, select the release, and install nibid:
git clone https://github.com/NibiruChain/nibiru
cd nibiru
just install
Post-installation
For Bun or npm installs, check the version and available commands:
nibiru version
nibiru --help
For the Bash installer, manual download, or source build, use:
nibid version
nibid --help
If your shell cannot find the command, check the installation's bin directory:
- Bun: run
bun pm bin --globaland add that directory to yourPATH. - npm: run
npm prefix --globaland add the returned directory'sbinsubdirectory to yourPATH. - Bash installer: check
/usr/local/binif you used the!suffix. - Manual download: add the directory where you extracted
nibid. - Source build: add Go's bin directory as described in the tip below.
TIP
If you see nibid: command not found after building from source, add Go's bin directory to your PATH:
export PATH="$(go env GOPATH)/bin:$PATH"Save this line in your shell configuration and reload it.
Local development
Print and run the embedded single-node localnet script:
nibid localnet --script | bashFor Bun or npm installs, use:
nibiru localnet --script | BINARY=nibiru bashSetting BINARY=nibiru makes the script use the npm launcher for node commands. Stop any running localnet before running the script. It resets local chain data under $HOME/.nibid before starting the node. Open another terminal to query the local chain or send transactions.
Docker Engine
Some repository workflows use Docker containers. Follow the Docker Engine installation instructions when working with those workflows.